Mulesoft’s Anypoint Platform provides a simple, easy way to develop and protect APIs. To get the best of the Mulesoft capacities and to aid developers with successfully building applications in the Anypoint design center, here is the step-by-step process for creating an application using the MuleSoft Anypoint designer platform.
What is MuleSoft Anypoint Platform?
To ease and increase the pace of application integration solutions and offer better API-led connectivity solutions, MuleSoft offers a platform named the Anypoint Design Center. This platform offers simple demands, minimal coding efforts and is a web-based interface that accelerates the time to build. Anypoint facilitates developers with abilities to build application flows, build connectors, simplify API design, re-usability and testing.
(Learn more about MuleSoft Anypoint Platform capabilities)
Anypoint Studio 7 Updates in Mule 4
Mule 4 has provided Anypoint studio with technology to implement the Mule application that includes:
- Easy Maven integration
- The palettes have provided new icons
- Now you can save your favorite palette
- Mule palette has upgraded newly
- It supports Mule 4 beta run time
- Visual design has changed with new improvements
- You can right click on palette with you can see its XML configuration

Steps to Create an Application in Anypoint Design Center
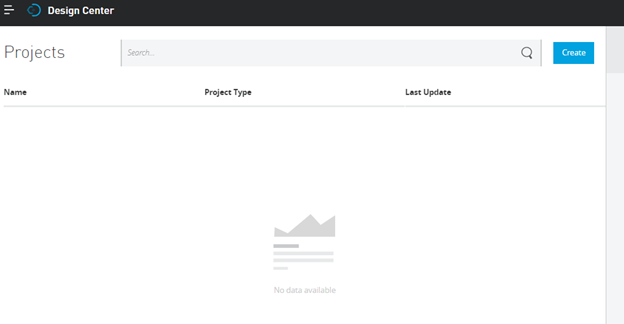
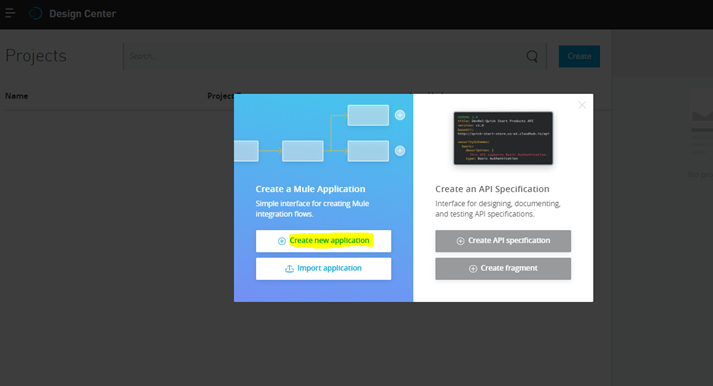
Step 1: Click Design center after signing into Anypoint Platform and create a new project.
As per the requirement we can go with Mule application or API specification:
Step 2: After creating a new Mule application, go to the source and destination endpoints.

There is a good number of core components and many connectors like Amazon S3 Connector, Database Connector, FTP Connector, HTTP Connector, Salesforce Connector, Mongo DB Connector, SFTP Connector etc.,
Here we will use HTTP Connector and Logger. 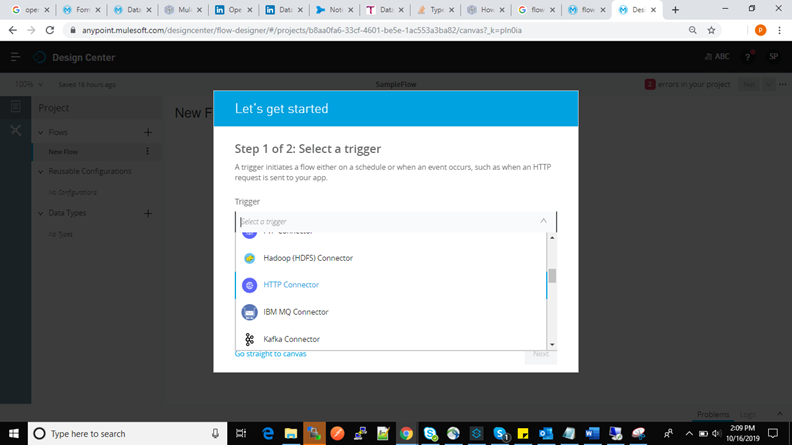
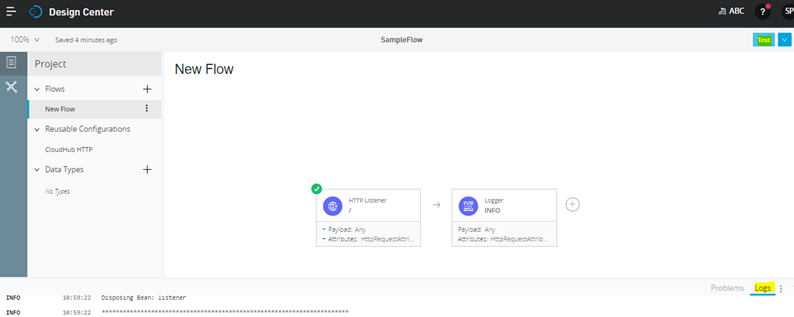
Step 3: In the below image, we created a sample flow with an HTTP connector and logger, then test the application.
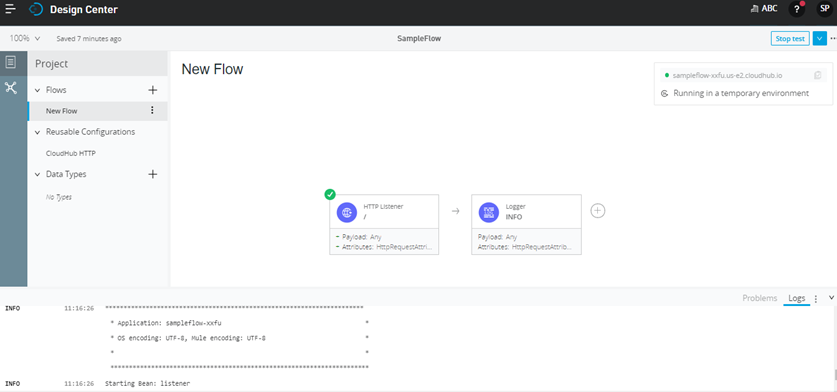
Step 4: The application will run in the temporary environment and it will generate “sampleflow-xxfu.us-e2.cloudhub.io” to test the application from the browser or postman tool.
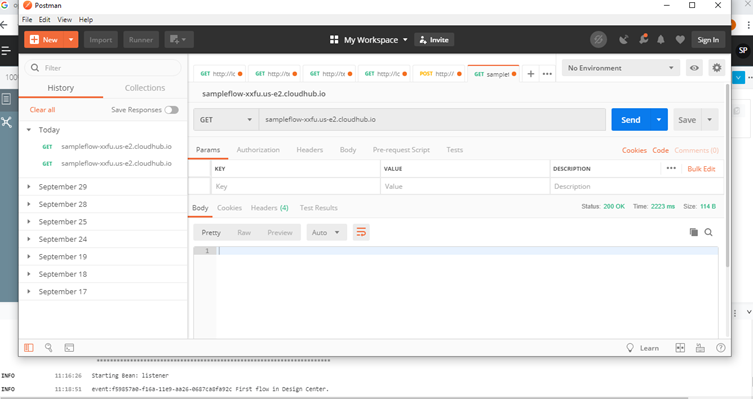
We will test the application from the postman end. In the below image we can see the application executed successfully. Following, it generated a message which we gave in logger like “First flow in Design Center”. Whenever we run the application it creates an event with unique key.
Step 5: After successful run, we deploy the application in desired target environment.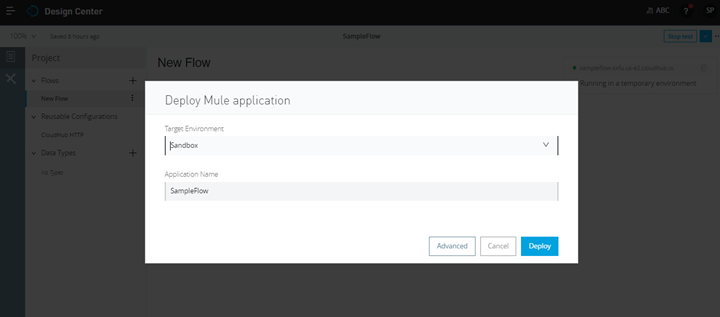
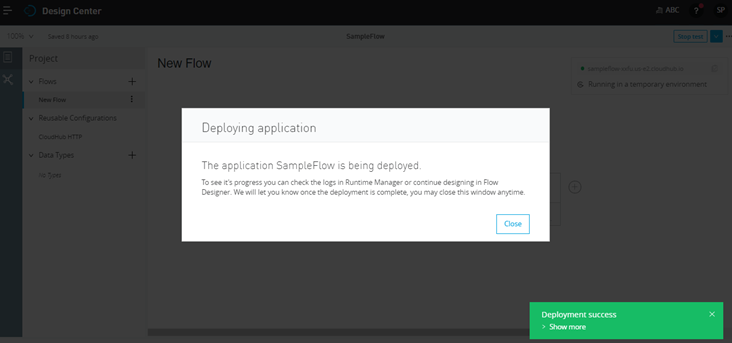
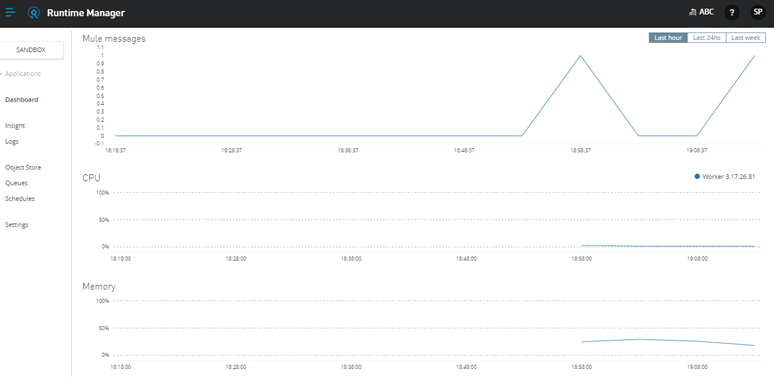
Step 6: After successful deployment, we can check the application under Runtime Manager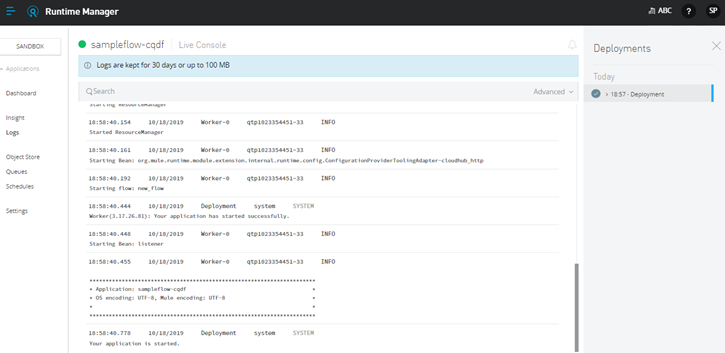
Using sampleflow-cqdf.us-e2.cloudhub.io/ we can check the application.
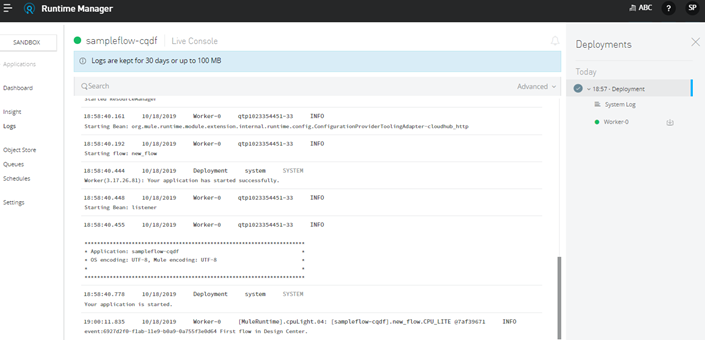
This is the process of creating the application, testing and deploying using Design Center. By using Design Center, we can create applications with a web-based approach without requiring the need of CPU utilization, as shown in the below screenshot.